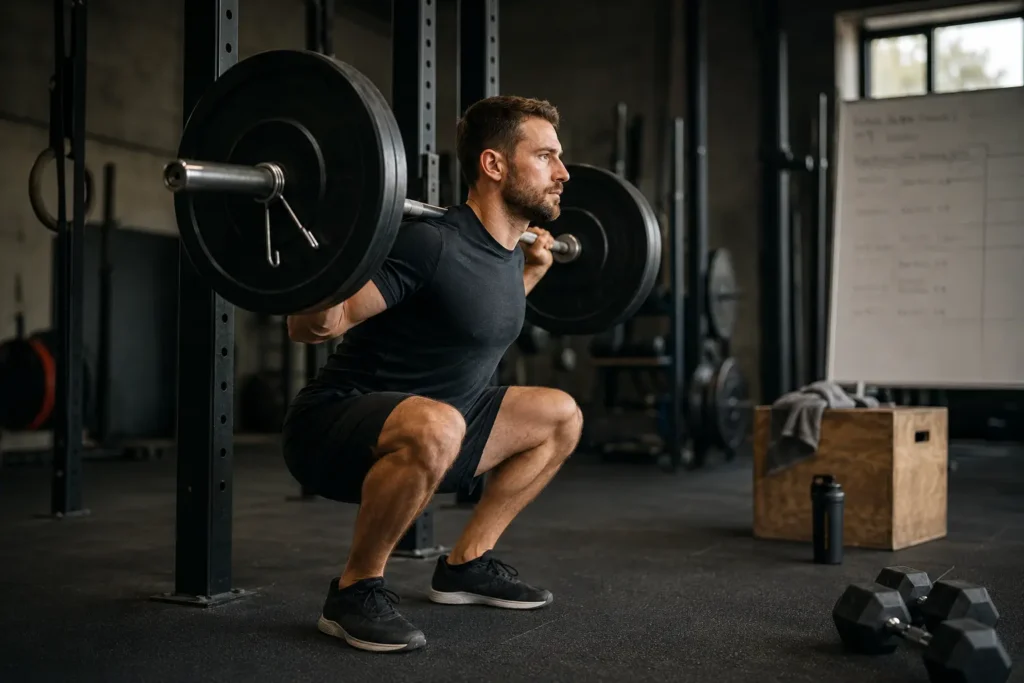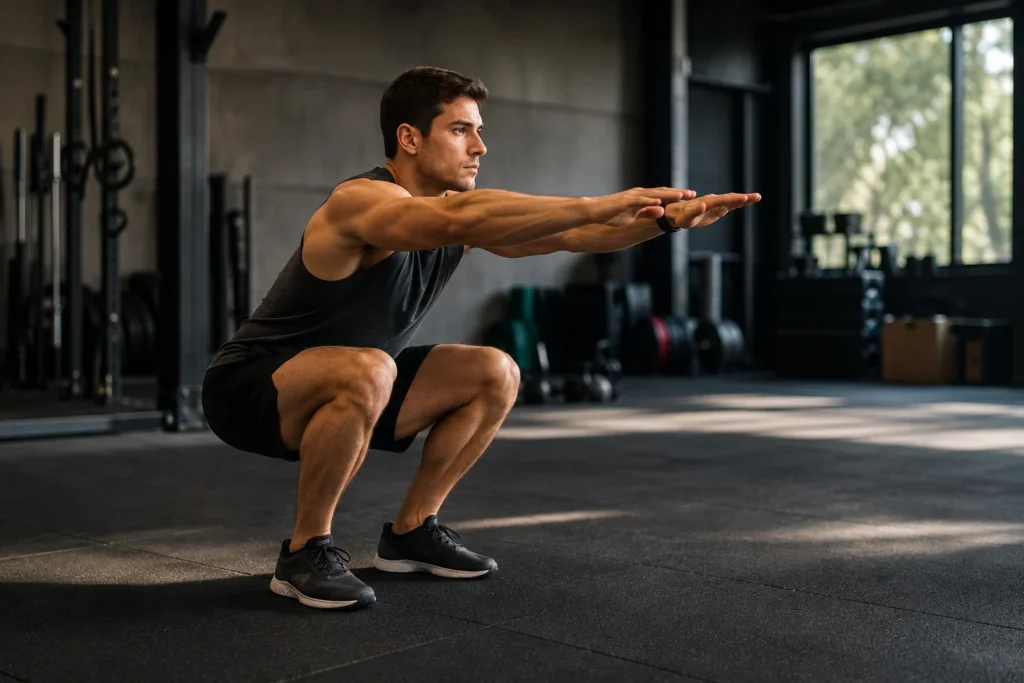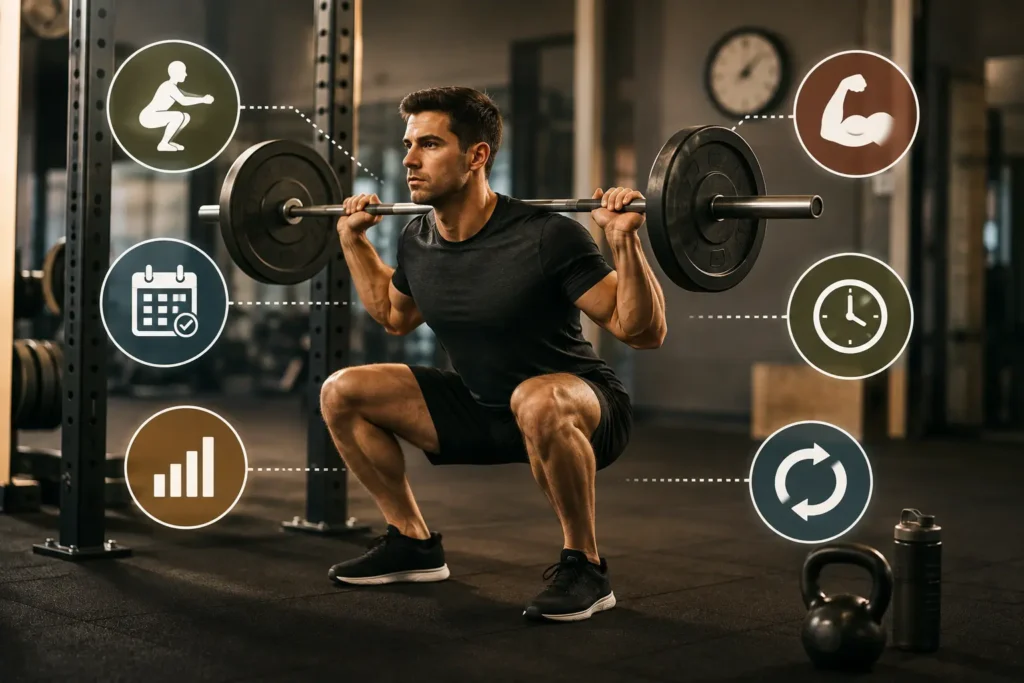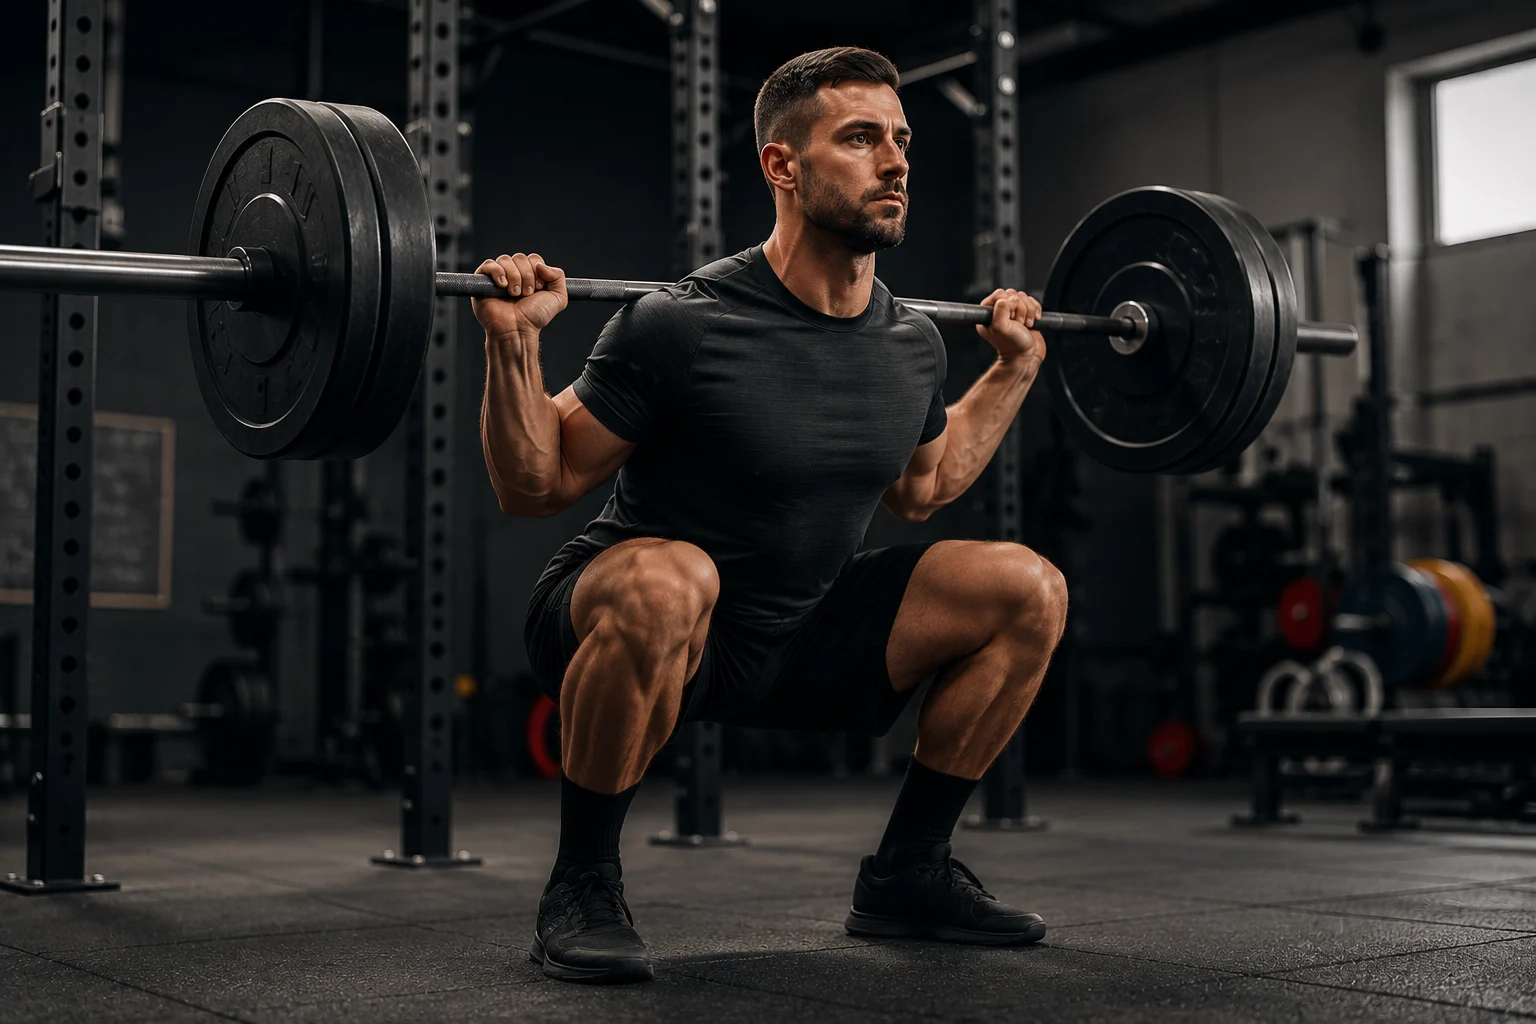
Stand with your feet shoulder-width apart, toes turned out slightly, and push your hips back like you’re reaching for a chair behind you. Bend your knees and lower down while keeping your chest up and your weight spread across your whole foot, not just your heels. Go down until your thighs are at least parallel to the floor, then drive back up through your midfoot. That’s a squat, in its simplest form.
It sounds easy on paper. In practice, almost everyone gets something wrong the first few hundred times they try it.
The squat is one of those movements that looks simple until you actually watch someone do it under a camera. Knees drift inward. Heels pop up. Backs round out at the bottom. And most of the time, the person doing it has no idea any of that is happening, because it doesn’t feel wrong from the inside.
Here’s the thing worth knowing before anything else: if you struggle to squat well, it’s rarely a strength problem. It’s almost always a mobility restriction, a cueing issue, or both. Fix those two things and the movement usually cleans itself up without needing to overhaul your entire training plan.
This guide walks through the mechanics, the common breakdowns, the major variations, and the mobility work that actually moves the needle. No filler, no fluff, just what you need to squat well and keep squatting well for years.
What Muscles the Squat Actually Works
The squat is often filed under “leg day,” which undersells it a bit. It’s closer to a full lower-body integration exercise, with a fair amount of core and back involvement thrown in.
The main movers are the quadriceps, glutes, and hamstrings. The quads handle most of the knee extension work on the way up. The glutes take over hip extension, particularly in the bottom third of the movement where things get harder. The hamstrings assist with hip extension too, though their role is smaller than most people assume, since they’re working against the quads at the knee joint at the same time they’re helping the glutes at the hip.
The adductors, the muscles along your inner thigh, do more than people give them credit for. They stabilize the knee and help control that inward or outward drift you’ll hear coaches talk about constantly.
Then there’s the supporting cast: your core braces the spine, your erector spinae muscles keep your back from folding forward, and your calves help stabilize the ankle throughout the whole range.
Where the emphasis shifts is in the variation. A high-bar squat with a narrow stance leans more on the quads. Widen the stance and drop the bar lower on your back, and the glutes and adductors start picking up more of the load. This isn’t just trivia. If your knees hurt specifically at the bottom of a squat, or your glutes never seem to feel worked, the stance and bar position you’re using might be part of the answer.
How to Perform a Bodyweight Squat, Step by Step
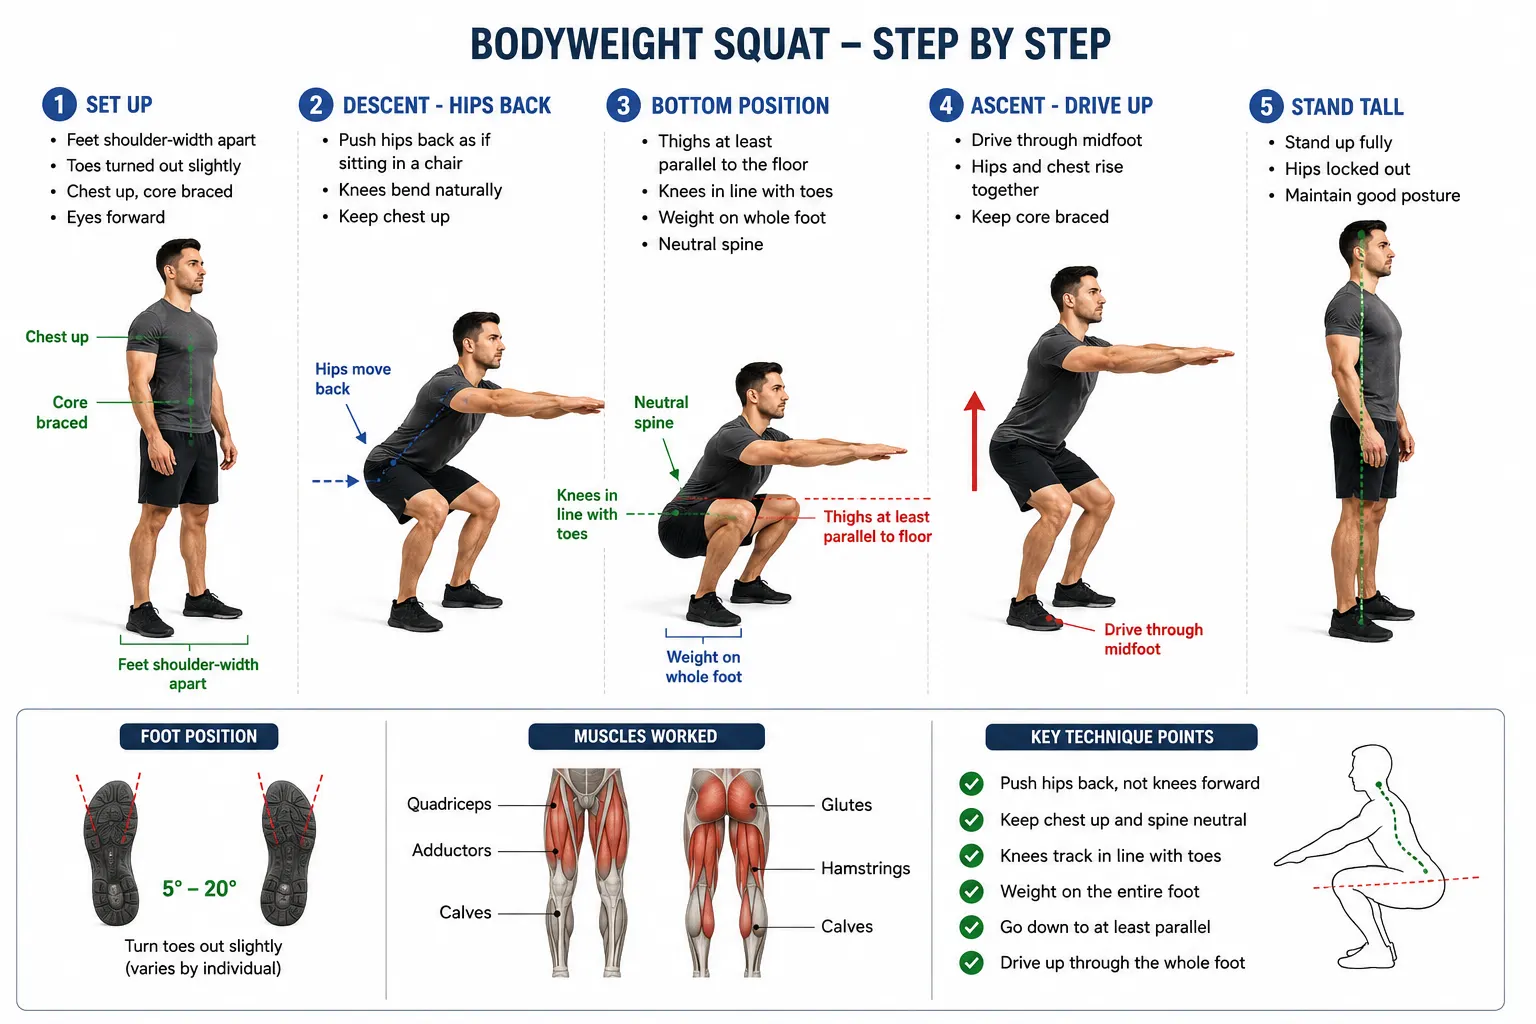
Before adding any weight, bodyweight squats need to look right. This is the version worth filming yourself doing, because most people are shocked at what they see compared to what they felt.
Setting Up Your Stance
Feet roughly shoulder-width apart is the standard starting point, though this varies by hip structure. Some people naturally squat better slightly wider, some slightly narrower. Toes turned out somewhere between 5 and 20 degrees usually works, and again, this depends on your hip anatomy more than any universal rule.
Weight should sit across the entire foot. A lot of beginners get told to “sit back” so aggressively that they end up rocking onto their heels with their toes lifting off the ground. That’s a mistake. You want three points of contact maintained through the whole movement: the heel, the base of the big toe, and the base of the little toe.
The Descent
This is where most form issues start. The movement should begin with the hips moving back, not the knees shooting forward. Think of it as loading the hips first, then letting the knees bend as a natural consequence of that hip movement.
Keep your chest reasonably upright and your eyes forward or slightly down, not craned up toward the ceiling. Looking too far up tends to hyperextend the neck and pull the upper back out of a stable position.
The classic cue “sit back into a chair” works well for a lot of beginners because it triggers the hip-first pattern naturally. It’s not perfect for everyone though. People with longer femurs relative to their torso often need more forward lean than that cue implies, and forcing an overly upright torso on someone with that build usually causes them to tip backward or lose balance at the bottom.
The Bottom Position
Depth is one of the most argued-about topics in strength training, and the honest answer is that it depends on the person. Thighs parallel to the floor is a reasonable general target for most people training for general fitness. Deeper is fine and often beneficial if your mobility supports it without your form breaking down.
What matters more than hitting a specific depth is what happens to your knees and lower back on the way there. Knees should track roughly in line with your toes, not caving inward. Your lower back should stay in a neutral, braced position rather than rounding out, which is often called “butt wink” when it happens right at the bottom.
The Ascent
Drive through the whole foot, not just the heels or just the toes. The hips and chest should rise together at roughly the same rate. This is where a common mistake shows up: the hips shoot upward first while the chest stays pinned down low, which turns the squat into something that looks more like a stiff-legged deadlift for a split second. That pattern usually points to a lifter who’s stronger in their hips than their quads, and it’s worth addressing directly rather than ignoring.
One practical tip that solves more form problems than any cue: record yourself from the side, just once, on your phone propped against something. Almost nobody’s internal sense of their own squat matches what the camera shows. It’s genuinely one of the fastest ways to self-diagnose issues without needing a coach standing over you.
Common Squat Mistakes and How to Fix Them
Coaches see the same handful of errors over and over, across thousands of different clients. The specifics vary slightly person to person, but the categories rarely do.
Knees Caving Inward
Also called valgus collapse, this is probably the most talked-about squat fault, and for good reason since it puts uneven stress on the knee joint. It usually comes down to weak hip abductors and glute medius muscles, combined with a lack of conscious awareness that it’s even happening.
The fix is two-pronged. Strengthen the hip abductors with band walks or clamshells, and simultaneously build the habit of consciously pushing the knees outward during the squat itself. Some coaches have clients squat with a light resistance band around their knees specifically to give them something to push against, which speeds up the motor learning.
Hips Rising Too Fast
Picture someone starting a squat and their hips shoot upward while their upper body stays folded forward low. It resembles a bad-morning-style movement more than a squat, and it puts a lot of shear stress on the lower back.
This usually signals that the quads are the weak link relative to the posterior chain, or that bracing at the bottom position isn’t solid enough to support a synchronized rise. Pause squats, where you hold the bottom position for two to three seconds before standing, tend to fix this quickly because they force the lifter to re-establish tension before moving. Front squats help too, since the front-loaded bar position mechanically demands a more upright torso throughout.
Heels Lifting Off the Ground
This one is almost always about ankle mobility, specifically dorsiflexion, the ability to bring your shin forward over your foot without your heel coming up. If your ankles are stiff, your body compensates by leaning your torso forward or letting your heels rise, both of which shift stress into places it shouldn’t be.
Ankle mobility drills help over time. In the meantime, a small heel wedge or a pair of weightlifting shoes with a raised heel gives you the range you’re missing until your mobility catches up. Reducing squat depth slightly while you build ankle mobility is also a reasonable short-term fix rather than forcing full depth with poor mechanics.
Rounding the Lower Back
Lower back rounding at the bottom of a squat, often called butt wink, happens when a lifter goes past the depth their hip mobility actually allows, or when core bracing isn’t strong enough to hold the spine in place under load.
Improving bracing technique helps a lot here. Taking a full breath into your belly and tightening your entire midsection before descending, sometimes called the Valsalva maneuver in strength circles, gives the spine external support it wouldn’t otherwise have. If depth is genuinely the limiting factor, temporarily working within a shallower range while building hip mobility, and using goblet squats to reinforce an upright torso, tends to resolve it within a few weeks.
A pattern worth mentioning: a lot of these issues show up together in the same person, and gym floors are full of lifters loading a barbell before their bodyweight squat is even clean. It’s an easy trap to fall into, especially when everyone around you seems to be adding weight every session. Fixing the bodyweight pattern first almost always pays off faster than trying to out-lift bad mechanics.
Squat Variations and When to Use Each One
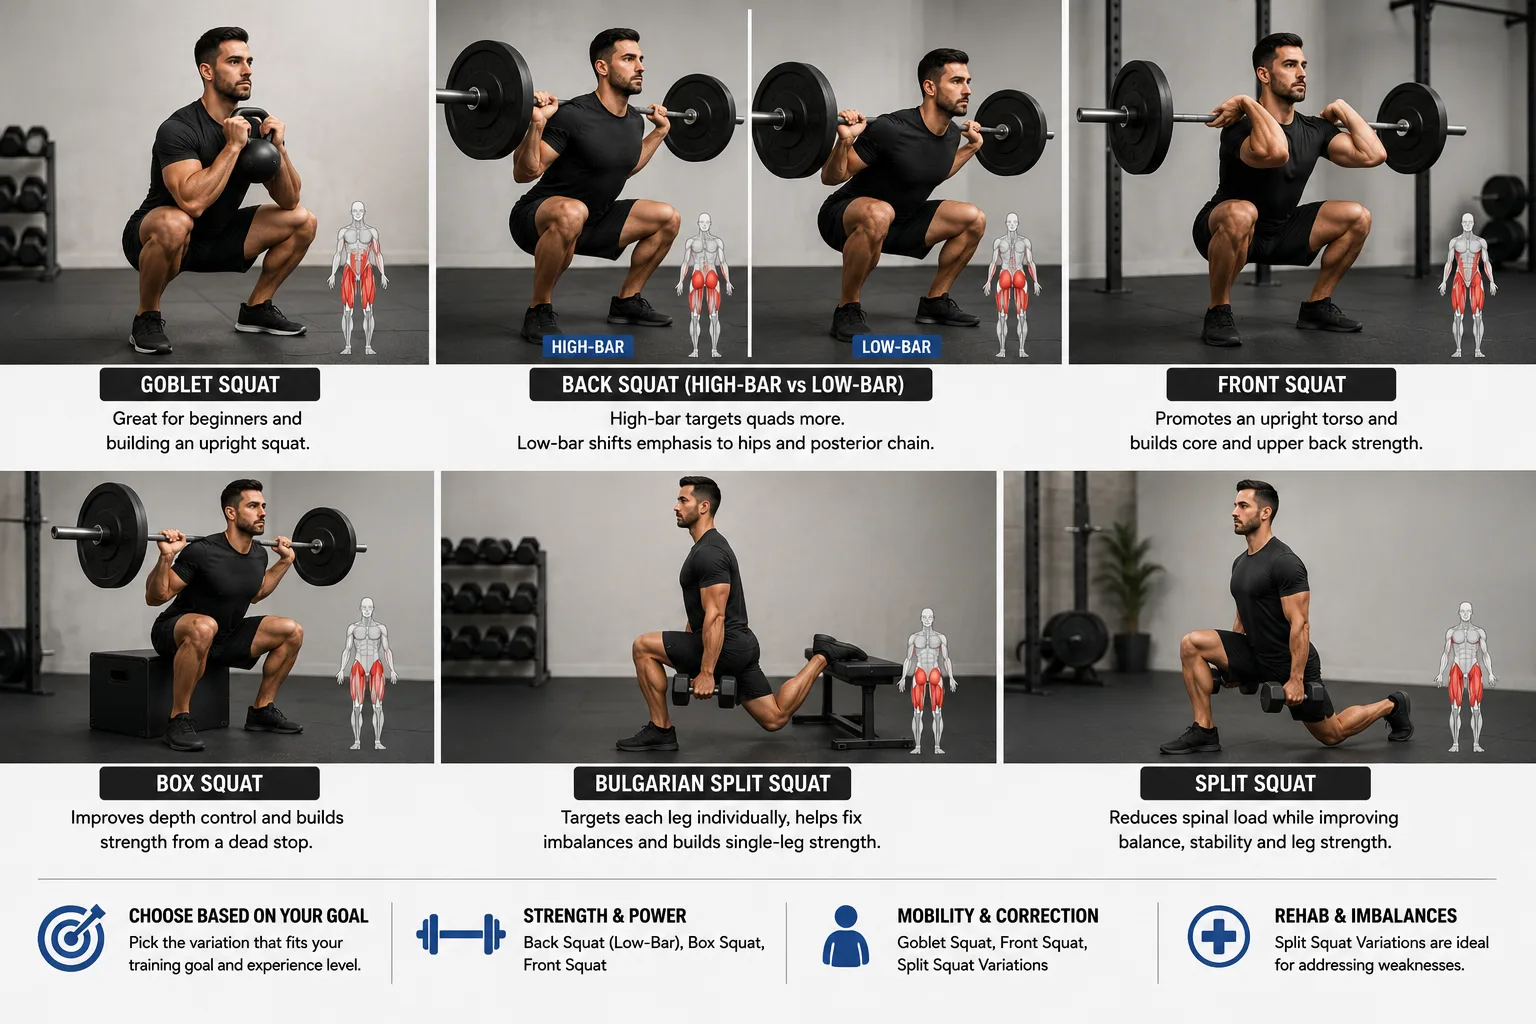
Not every squat variation serves the same purpose. Picking the right one for your situation matters more than picking whichever one looks most impressive on social media.
Goblet Squat
Holding a single dumbbell or kettlebell against your chest, this variation is often the first weighted squat beginners should learn. The front-loaded weight naturally pulls the torso into a more upright position and gives instant feedback if you start leaning forward too much. Many coaches keep new clients on goblet squats for several weeks before introducing a barbell, regardless of how eager the client is to load up.
Back Squat (High-Bar vs Low-Bar)
The high-bar back squat, with the barbell resting higher on the traps, keeps the torso more upright and shifts more work onto the quads. The low-bar version, with the bar resting lower across the rear delts, requires more forward lean and shifts emphasis toward the hips and posterior chain. Powerlifters tend to favor low-bar because it typically allows more total weight to be moved, while general fitness lifters and Olympic lifters often prefer high-bar for its more upright, transferable pattern.
Front Squat
The barbell rests across the front of the shoulders here, which forces an upright torso almost by necessity, since leaning forward causes the bar to roll off. It’s a strong corrective tool for lifters who tend to fold forward too much in a back squat, and it demands solid core and upper back strength to hold the position.
Box Squat
Squatting down to a box or bench, pausing briefly, and then standing back up teaches depth control and reinforces the hip-hinge pattern. It’s a staple in powerlifting circles for building explosive strength off a dead stop, since there’s no stored elastic energy to rely on the way there is in a continuous squat.
Split Squat and Bulgarian Split Squat
These single-leg variations work one side of the body at a time, which is useful for anyone dealing with mobility restrictions on one side, muscular imbalances, or a history of injury on one leg. They also reduce the total spinal loading compared to a bilateral squat, which some lifters with back sensitivity find more comfortable.
Matching the variation to the actual goal matters more than picking randomly. Someone rehabbing a knee might do better with split squats. Someone training for a powerlifting meet needs low-bar back squats in their program regardless of how they feel about the exercise. Someone just starting out is almost always better served by weeks of goblet squats than by rushing to a barbell.
How Deep Should You Squat?
This question generates more debate than almost anything else in strength training, and a lot of that debate is unnecessary.
“Ass to grass” squatting, going all the way down until your hamstrings meet your calves, isn’t inherently dangerous for people with healthy knees and adequate mobility. Neither is stopping at parallel. Neither is stopping just above parallel if that’s genuinely as far as your hips and ankles allow without your form breaking down.
There’s a persistent myth that squatting below parallel damages the knees. Research on this hasn’t supported that claim broadly, particularly in structurally healthy individuals without pre-existing joint issues. The knee joint is designed to handle a full range of motion under load when the surrounding muscles and connective tissue are conditioned to support it.
What actually matters is control. A deep squat performed with good bracing and no loss of spinal position is generally fine. A shallow squat where the lifter’s back rounds anyway because they’re rushing or fatigued is a problem regardless of depth.
Full range of motion does have real advantages worth mentioning. It tends to build more muscle activation across the full length of the muscle, and it maintains hip and ankle mobility over the long run better than partial-range training does. But depth for its own sake isn’t a badge of honor. Working within a range your body can control safely will always beat chasing maximum depth at the expense of form.
Mobility Issues That Limit Good Squat Form
A lot of “bad squat form” isn’t actually a technique problem. It’s a mobility restriction that the body is compensating around, and no amount of cueing fixes a joint that physically can’t move where you’re asking it to go.
Ankle Mobility
A simple test: kneel in a lunge position with your front foot close to a wall, and try to touch your knee to the wall without your heel lifting. If you can’t get your knee to the wall while your foot stays flat, your ankle dorsiflexion is likely limiting your squat depth and causing compensations further up the chain.
Calf stretches and ankle dorsiflexion drills help build this range over weeks, not days. In the meantime, a slight heel elevation, either from a small plate under your heels or weightlifting shoes, gives immediate relief.
Hip Mobility
The 90/90 stretch position, sitting with one leg bent at 90 degrees in front and the other bent at 90 degrees to the side, is a useful gauge. Struggling to sit comfortably in that position often correlates with limited hip internal and external rotation, which shows up as difficulty squatting deep without the knees or feet turning out excessively.
Hip flexor stretches and regular time spent in the 90/90 position tend to open this up gradually.
Thoracic Spine Mobility
This matters more for front squats and overhead squats specifically, where an upright, extended upper back is required to hold the bar in position. Thoracic rotations and foam rolling across the upper back help here, particularly for anyone who spends most of their day sitting hunched over a desk or a phone.
Here’s a real pattern worth knowing: fix the ankle mobility on someone who’s been compensating for years, and often two or three other “form issues” disappear at the same time, because they were never separate problems to begin with. They were downstream effects of one restriction.
Squatting With Weight: Progression Guidelines
Load should be the last thing added, not the first. Bodyweight form needs to be consistent and pain-free across multiple sessions before a barbell enters the picture.
Progression timelines vary a lot depending on training background. A beginner with reasonable mobility can often add weight to their squat every session for the first several weeks, a phenomenon commonly called “newbie gains.” Experienced lifters see much slower progress, sometimes measured in pounds added per month rather than per session.
Using a squat rack with safety bars or pins set at the right height is worth doing from the very first weighted session, not just once weights get heavy. It removes the fear factor from failing a rep, which lets a lifter actually push themselves without hesitation.
One thing that gets overlooked constantly: form on the last rep of a set matters as much as form on the first rep. Plateaus in squat progress are more often caused by form breaking down under fatigue in the final reps than by anything wrong with the actual training program. If your first three reps look clean and your last three look like a different exercise entirely, that’s usually the real bottleneck, not the numbers on the program.
Tracking progress through weight, reps, and periodic video review beats chasing personal records every single session. Ego lifting, adding weight before the current load is under control, is one of the most common ways lifters stall out or get hurt.
Squat Safety: What to Know Before You Load the Bar
A few habits separate lifters who squat heavy for decades without injury from those who get sidelined.
Warm-up sets before the working weight aren’t optional extras. Ramping up through several lighter sets prepares the joints and nervous system for the heavier load ahead, and it gives one more chance to notice if something feels off before it matters.
Using a squat rack with the safety bars or pins set just below your bottom position means a missed rep gets caught by the rack, not your spine. This single habit prevents a huge share of serious squat injuries.
Bracing before every rep, a full breath held with a tight core, gives the spine external support that muscles alone can’t fully provide under heavy load. It’s worth practicing this deliberately rather than assuming it happens automatically.
Knowing when to stop a rep matters too. Missing depth, feeling form break down mid-rep, or feeling sharp pain rather than normal training discomfort are all signals to bail rather than push through. Discomfort from effort is normal. Sharp or shooting pain is not, and it’s worth stopping immediately if that happens.
Anyone with existing knee, hip, or lower back conditions should get input from a physical therapist or doctor before starting a squat program, particularly if there’s a history of injury in those joints. This isn’t a formality. A quick consultation can catch issues that would otherwise take months of trial and error to identify on your own.
Conclusion
Squatting well isn’t about chasing a number as fast as possible. Pick one variation from this guide that matches where you’re at right now, whether that’s a goblet squat or a bodyweight squat filmed on your phone, and spend a few weeks making that movement genuinely clean before adding load. The squat rewards patience with form far more than it rewards heavy weight moved with sloppy mechanics early on, and that patience pays off for years, not just for one workout.
For more form breakdowns, mobility routines, and strength programming built around movements like this one, check out the rest of the training guides on Gym League.
FAQs
Beginners should focus on quality over quantity. Performing 2 to 4 sets of 8 to 12 controlled repetitions two or three times per week is generally enough to build strength, improve technique, and develop confidence with the movement.
Yes. For most people, it’s completely normal and safe for the knees to move past the toes during a squat. The exact amount depends on your body proportions, squat depth, and mobility. The key is maintaining proper control and avoiding pain during the movement.
You can perform bodyweight squats daily as part of a mobility or movement routine. However, heavy weighted squats require adequate recovery, so most strength training programs include them two to three times per week.
Lifting shoes can improve stability and squat depth, especially if you have limited ankle mobility. While they’re not essential for everyone, many lifters find them helpful for maintaining better squat mechanics during heavier lifts.
Many beginners notice improvements within a few weeks of consistent practice. Recording your squats, focusing on proper technique, and addressing mobility limitations can help you develop better movement patterns over time.
Yes. Squats are one of the most effective compound exercises for building muscle in the quadriceps, glutes, hamstrings, and core. Progressive overload and proper nutrition are important for maximizing muscle growth.
If you’re new to squats, start with bodyweight variations to learn proper movement patterns. Once you can perform consistent, controlled repetitions with good form, gradually adding weight can help increase strength and muscle development.
Stop the exercise if you experience sharp or persistent knee pain. Review your squat technique, reduce the training load if necessary, and identify any mobility limitations. If the pain continues, consult a qualified healthcare professional before resuming heavy squats.
Good squat form includes maintaining a neutral spine, keeping your feet flat on the floor, tracking your knees in line with your toes, and controlling the movement throughout the entire range of motion. Recording your squats or having an experienced coach review your technique can help identify areas for improvement.
Yes. Bodyweight squats, goblet squats with a dumbbell or kettlebell, and mobility exercises can all be performed at home. As your strength improves, you can gradually introduce additional resistance if equipment becomes available.
Ready to Put Your Squat to the Test?
Learning proper squat form is the first step. The next is making sure every rep meets competition standards.
With GymLeague, you can record your squat, upload your lift for verification, and see how it measures up against official judging criteria. Whether you’re training for your first powerlifting meet or working toward a new personal best, you’ll get a clear way to track your progress and improve with confidence.
Explore the official squat standards, submit your lift, and see where you stand among lifters in your category.
Create your GymLeague account and verify your first squat today.